Ahmedabad’s Trusted Waterproofing Experts | 29+ Years Experience
Easy DIY Waterproofing Guide for Home Leakage & Seepage
We help homeowners and commercial buildings fix leakage, seepage, dampness, and cracks using simple self-repair methods and waterproofing solutions that deliver long-lasting results.
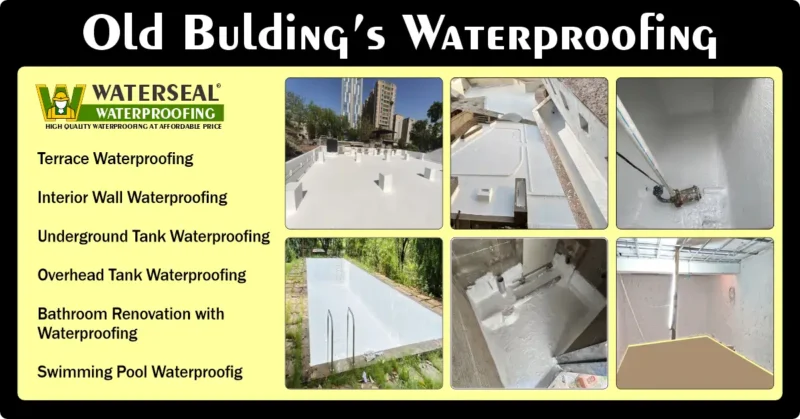
Suitable for New & Old Buildings
✔ Homes | Offices | Terraces | Bathrooms | Tanks | Basements | Walls
✔ Budget-friendly & practical solutions
✔ Waterproofing chemicals available across India
DIY Waterproofing Guides – Learn How to Fix Water Leakage Yourself
Are you tired of damp walls, a leaking roof, or water seeping through cracked terraces? You’re in the right place. This DIY Waterproofing guide is designed to help you understand and fix common water leakage problems at home—on your own.
These step-by-step waterproofing tutorials explain simple, practical, and proven methods that you can use to stop seepage and leakage without depending on expensive contractors.
In many areas, skilled waterproofing professionals are either not available or charge very high fees. That’s where these DIY articles become your reliable, cost-effective solution for handling water leakage problems confidently by yourself or with the help of local workers.
Who Is This DIY Waterproofing Blog For?
This blog is specially written for:
Homeowners facing repeated leakage problems
Builders and contractors looking for practical waterproofing methods
Painters, masons, and general workers wanting modern waterproofing knowledge
DIY enthusiasts who enjoy fixing things themselves
Flat owners and tenants searching for low-budget waterproofing solutions
Our goal is simple: make waterproofing easy, affordable, and doable—even if you have no prior experience.
What’s Included in This DIY Waterproofing Guide?
Step-by-step instructions for different types of waterproofing
Real site examples and practical application methods
Helpful images and videos wherever possible
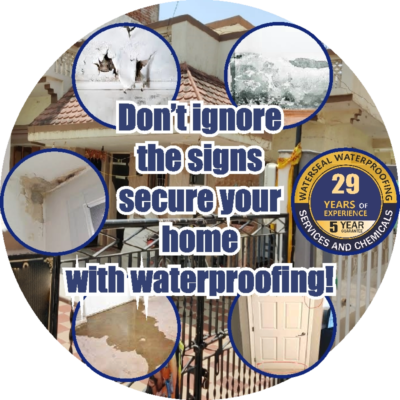
Knowledge shared from 29+ years of real waterproofing experience across thousands of Indian homes
All methods shared here are tested on Indian houses using Waterseal waterproofing chemicals and have delivered 100% successful results when applied correctly.
Why Are These Step-by-Step Waterproofing Guides Important?
Water leakage can occur in many places—roofs, terraces, bathrooms, water tanks, walls, and floors. This section helps you easily find well-structured articles covering the most common leakage and seepage problems.
You’ll learn how to handle:
Terrace water ponding and cracks
Damp and wet walls
Roof leakage
Bathroom seepage
Water entry through floors and slabs
Each solution is explained with required materials, real-life examples, and clear instructions, so you know exactly what to do and why.
What Will You Learn From These DIY Waterproofing Articles?
In this guide, you will clearly understand:
How to identify the exact source of leakage before starting any repair
Proper surface preparation tips before applying waterproofing chemicals
How to apply chemicals using brush, roller, or spray machine
Which chemical is suitable for which leakage problem
Correct mixing ratios—how much water or additives to use for best results
Important safety precautions during application
Maintenance tips after completing waterproofing work
Even if you are a beginner, everything is explained in simple English, so you can follow along easily.
Start Your First DIY Waterproofing Project Today
We invite you to explore the Waterseal DIY Waterproofing Blog and confidently start your first waterproofing project. Whether it’s a small wall crack or full terrace protection, you’ll find the right method, material, and guidance here.
We’ve already helped countless homeowners across Gujarat and India successfully fix leakage problems by themselves—now it’s your turn.
Browse DIY Waterproofing Resources & How-To Guides
Explore structured, practical, and step-by-step DIY Waterproofing articles to fix leakage, seepage, dampness, and cracks at home—without hiring a contractor.
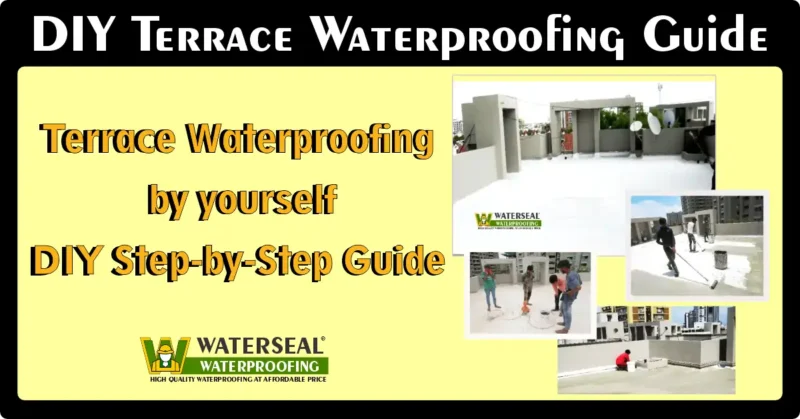
Learn 5 simple steps for Terrace waterproofing by yourself. Protect your home from leaks with Waterseal's DIY Terrace waterproofing solutions.
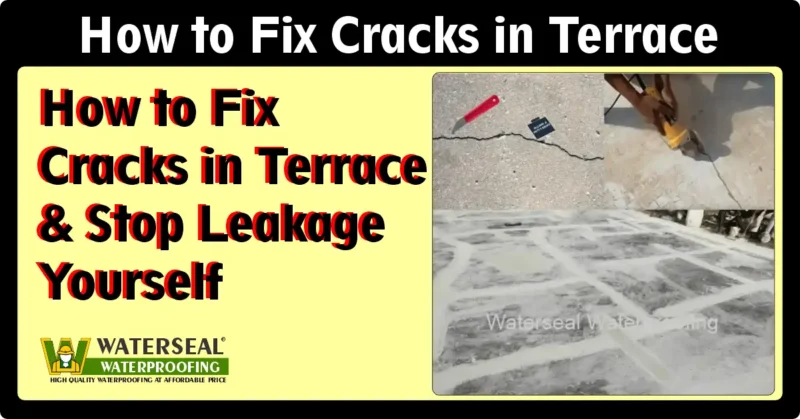
Learn How to Fix Cracksand wall cracks permanently using easy DIY waterproofing methods. Stop water leakage before monsoon..
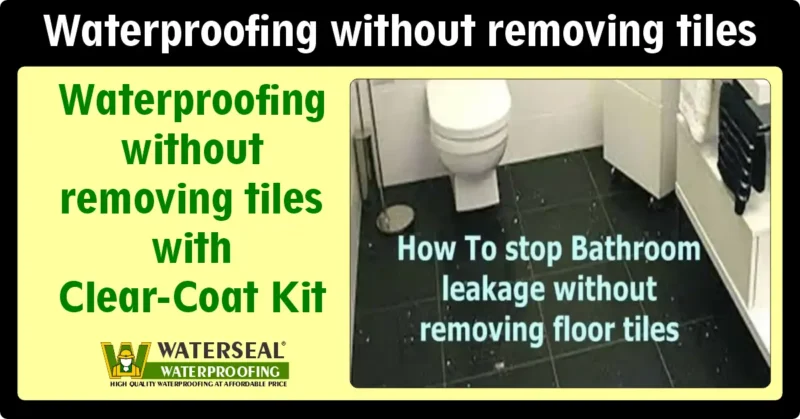
Bathroom Waterproofing without removing tiles with Waterseal Clear-coat Kit. 6 simple steps using a Kit – Start with Waterseal.
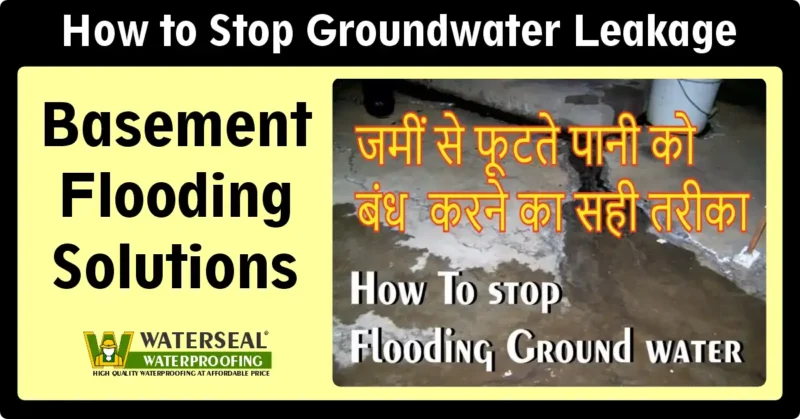
Stop groundwater leakage permanently with Waterseal Quick-Seal Powder. DIY solution for basement, wall & floor seepage.

Bathroom renovation with waterproofing made easy. Follow 7 simple steps for leak-proof walls and flooring. Start today with Waterseal.
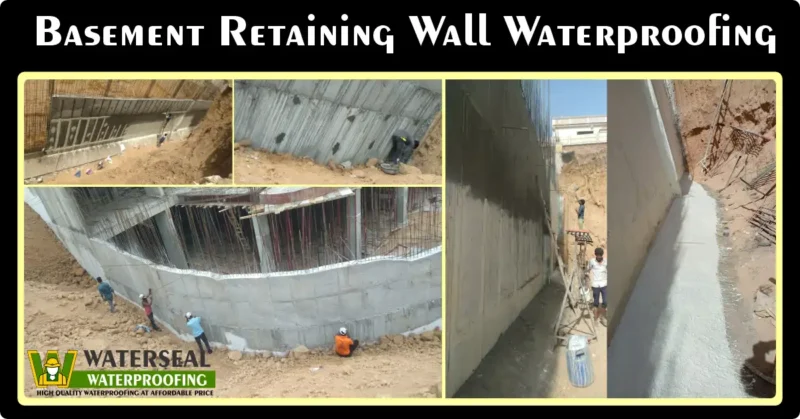
Proper retaining wall waterproofing helps control moisture penetration, reduce the risk of mould growth, and protect structural integrity…
Now it's easier than ever to estimate how much waterproofing will cost. Our Waterproofing Cost Calculator takes your terrace area and gives you the estimated material requirement and total waterproofing cost. You can also compare the Contractor vs DIY costs to make a better decision.
how to measure your terrace area here
You can also read the Guidelines on Waterproofing in New/Old Construction.
DIY Waterproofing — Common Questions & Answers
What do I need to start DIY Waterproofing?
To begin DIY Waterproofing, you typically need crack filler, sealant, brushes or rollers, waterproof coating, and basic cleaning tools.
If your goal is only to seal small cracks and joints, an Instant Crack Filler Kit can make the process easier since it includes the required material and applicators.
Can waterproofing be done without breaking tiles or surface?
Yes, many surfaces can be waterproofed without breaking or removing any tiles.
Terraces, balconies, and slabs can be treated using waterproof coatings and crack fillers directly on the surface.
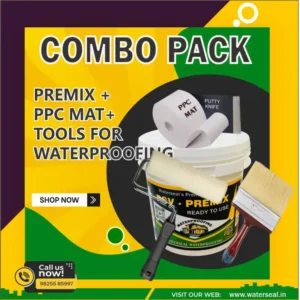
For areas around 250–300 sq. ft., some waterproofing combo kits include all chemicals and tools required to complete the process as a DIY project.
How can I fix terrace or balcony leakage myself?
Start by cleaning the surface, then fill all visible cracks and joints. After that, apply 2–3 coats of waterproof coating.
Make sure to allow 24–48 hours of drying time before exposure to rain.
For minor crack filling, a crack filler kit is enough, but for larger areas like 250–300 sq. ft., a waterproofing combo pack offers a complete DIY solution.
How can bathroom seepage be controlled without breaking tiles?
Bathroom seepage caused by tile joints and corners can be controlled without demolition by applying tile joint sealant and waterproof coatings.
Clear tile joint sealants are especially useful for sealing joints and preventing water seepage in bathrooms, balconies, and wash areas.
How long does DIY Waterproofing last?
The lifespan depends on the waterproofing products used, application method, surface condition, and weather exposure.
Generally, DIY Waterproofing lasts 2–5 years, and premium coatings can extend durability even further.
Choosing the right materials and applying correct layers significantly improves performance and longevity.
Easy, Safe, and Long-Lasting Waterproofing — Book Your Free Consultation!
Protect your home or office with premium waterproofing solutions. Whether it’s a new or old building, our team helps you achieve reliable results with minimum hassle.
